MICROSOFT AZURE : CREATE AND SHARE JUPYTER NOTEBOOK
In this article, we will learn about Azure Jupyter Notebook focusing on creating and sharing.
Microsoft Azure: Create and Share a Jupyter Notebook
Online Cloud Notebooks are really great to make sure that you are empowered whenever and wherever possible for your own task and speaking of Notebooks who can forget about Jupyter Notebooks, yes every python coder loves it. Thus, empowering the same Microsoft Azure promises as earlier to enrich with every technology that is being on Planet. In this article, we will learn how to create and share your Jupyter Notebook content.
- Speaking of Microsoft Azure Jupyter Notebook, firstly we need to make sure that we get ourself logged into https://notebooks.azure.com/
The page will look as follows:

- The second click on My Projects

- Then Click on New Project

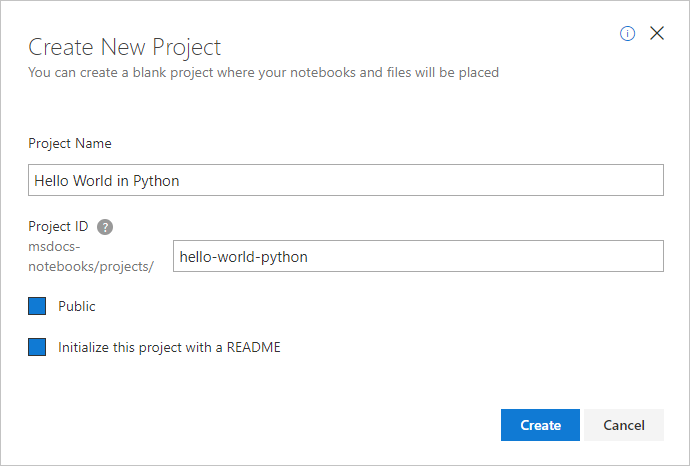
- In the following create the required details as Projects Name

- After a few moments notebook will be created and click on New

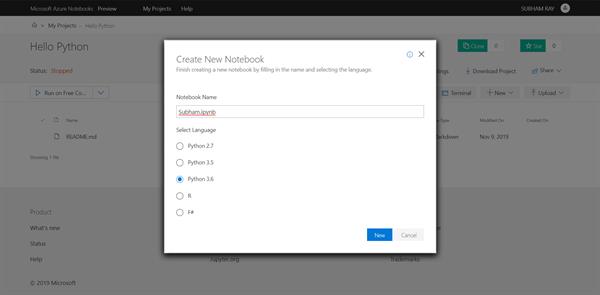
- After that, the following screen will appear and then fill the details:

Wait for some moment and then, your notebook for your code will appear to write and hence you can proceed for your code and then compile according to your desire. Congratulations your notebook is thus created.
- After writing and saving your code Select the File > Close and Halt menu command to stop the server and close the browser window.

- Click on the share button and the options will be visible to you, thus you have successfully shared the notebook.
Thus in this article, we have covered to create a Jupyter Notebook on Microsoft Azure and share it with others to act as community code distribution.


